Lazer Cutting and Mini Model Making
- Mar 3, 2017
- 3 min read
Design Project Performance 1 - 'Convergence of the body and technology in reinventing the space' Task was to design an appropriate environment for a performance piece, the idea was pitched by Natasha Scott (PhD student) who was looking for a box shaped design in white as she wanted to project lighting on the performers to record the way they interact. Some other point she made was to make sure its lightweight, easy to handle, weather proof and need to be put up by minimal time.

After pitching my design idea through presentation to develop my idea I decided to try make a model to get a good understanding of how my initial white-box design will look.
On the 3rd of March I started sketching on paper to see what I will need to start working on the
model making.

I came to a conclusion that the best way to start is by creating a AutoCAD drawing which I can lazer cut and glue together.

I then saved my DWG file to a DXF to be put on the lazer cutting machine.

It took about 5 minutes to cut the pieces. The next part is to glue them together but to make sure they are done neat and appropriate on Acrylic material. The actual material for this frame is made from aluminium and paint it white, I used white acrylic as an alternative to represent the white box effect.

This Glue is toxic and needs to be dealt with alot of care as its harmful to breathe in, it is one of the best glues to stick acrylic.

I had to first set up a very compact base for the models frame because the glue takes a few minutes to melt and weld both parts together. However, only a tiny drop is needed because its a strong glue.
I had to leave it to dry up very well before I could stick on fabric. So I decided to come back on Monday 13th to complete the model.

I first made a paper template of the fabric that I would need just to see how it fits and how much fabric I would need to neatly fit around so I make no errors. Using the measured template, I cut the fabric out.

As you can see I place the fabric in place and decided to use double sided take instead of glue just because when I pitched to Natasha I found out she could use flexible magnetic tape which will give me the same effect on my model as she really liked that idea.

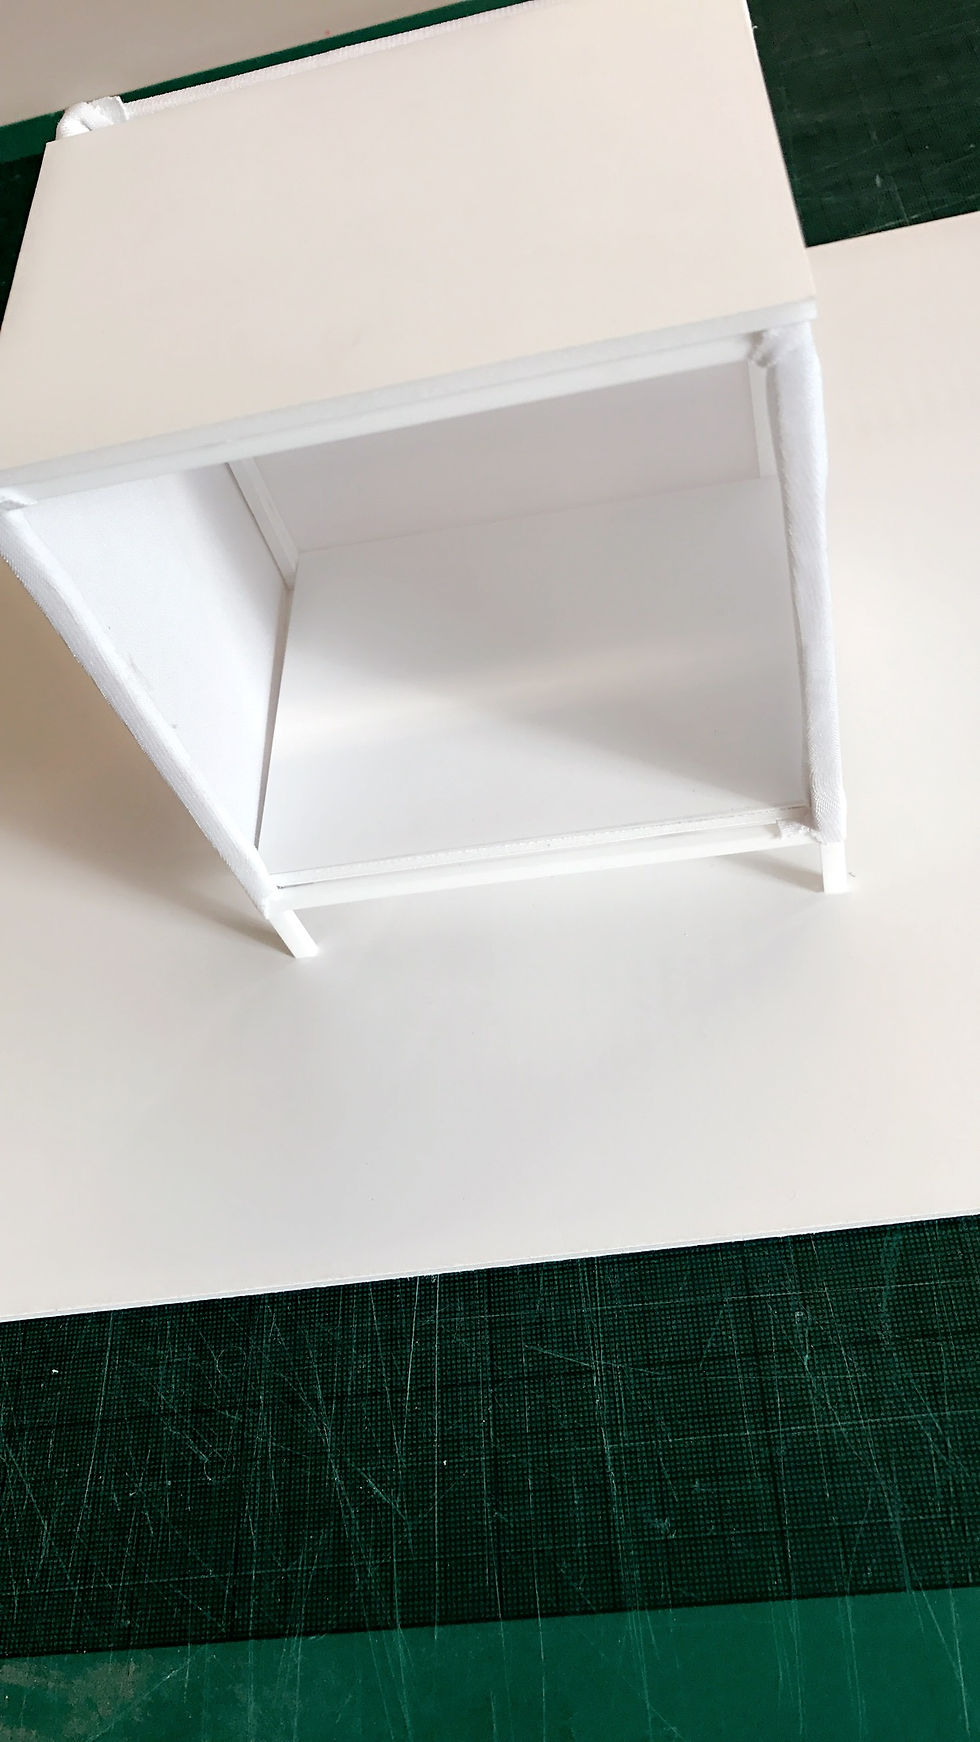
I was very pleased with the model because it has turned out quite well and looks as my actual design idea.

I then set up a white background and base to take pictures and I also decided to add flash light to give the effect of projection lighting.

This is a rear view of the model which shows how the shadow fabric works while light is projected on the other side.

I had an idea to get some performance models to show how it would reflect shadows while the performances are occurring.

I then decided to edit an actual scene of a performance in the space to get an idea of a visual look.
Overall, It was a successful project and I'm very pleased with the outcome of my model. I look forward to show Natasha how my idea could work well for her performance project as I tried my best to tick her checklist.


Comments